WIN Career Readiness System

Batch Enrollment
You can access the Batch Enrollment tool from the Admin menu on your dashboard. First, we will walk you through the ideal Batch Enrollment process – one with no errors. Later on in these instructions, there will be a troubleshooting guide.
Step 1a: Import File
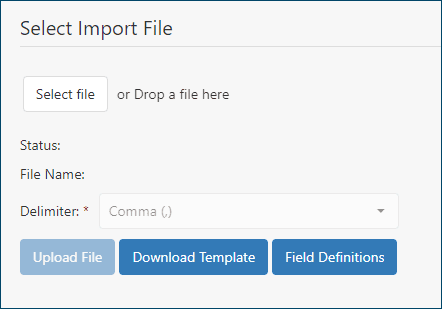
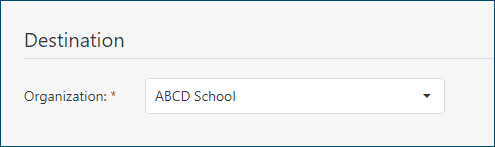
Step 1b: Destination
Once you have uploaded your file, select your Organization.
If a user has access to more than one organization and permissions to enroll in multiple organizations, they will now see the Transfers section under Destination.
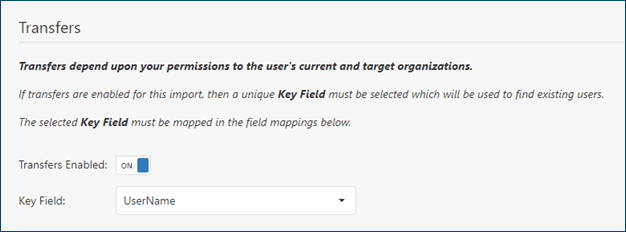
Step 1c: Transfers
To use the Transfers feature, toggle the Transfers Enabled toggle to On.
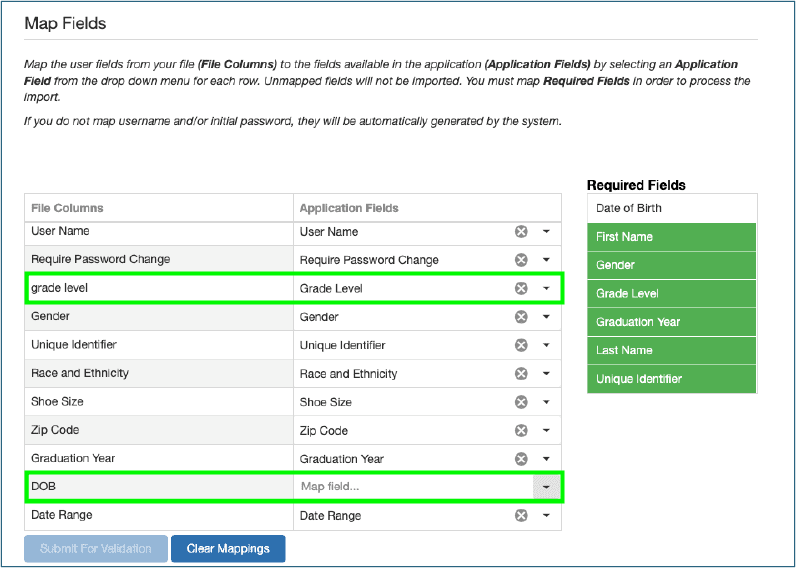
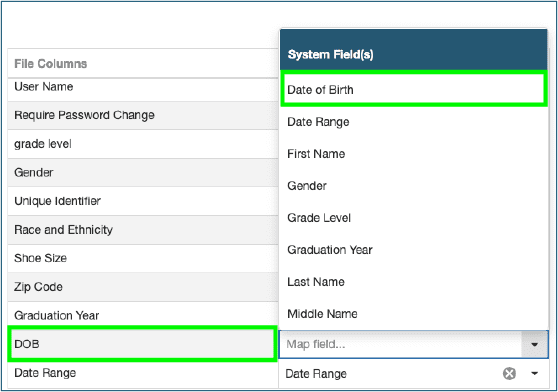
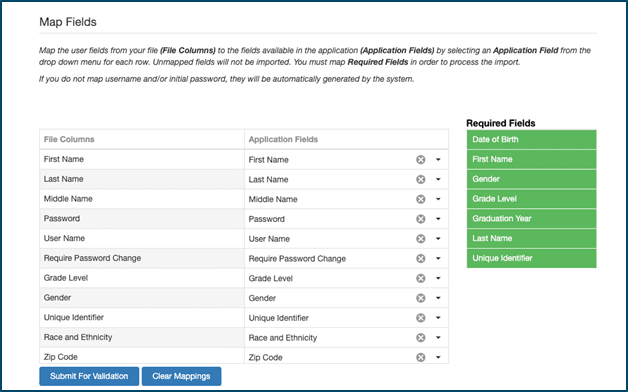
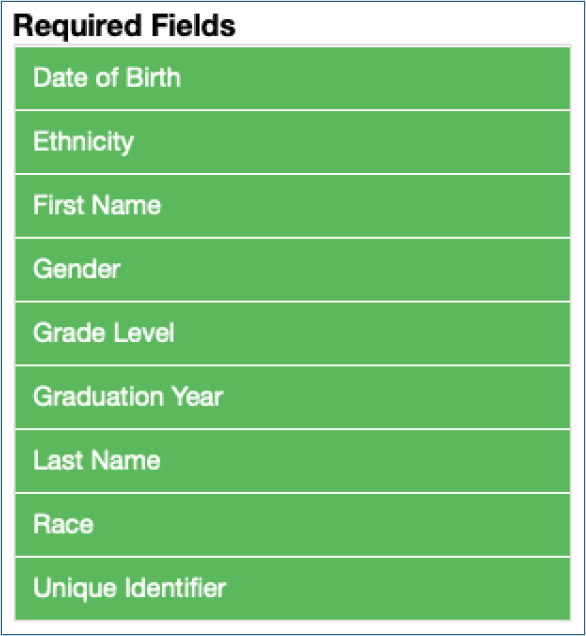
Step 2: Map Fields

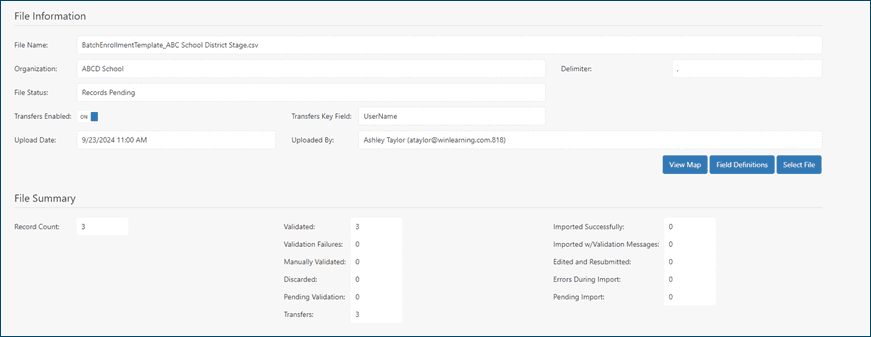
Step 3: Import Review
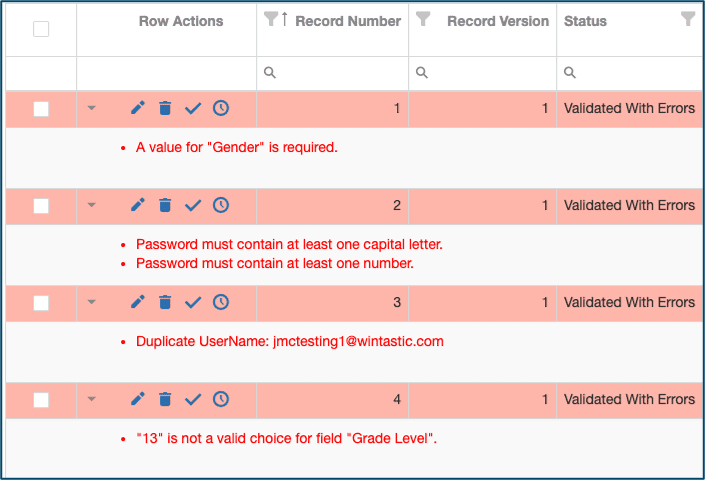
On the Import Review page, you will review a summary of your file and complete the enrollment process. If you have just been transitioned from the Import File page, your recently imported file should automatically load into the Review panel with details telling you which records passed validation successfully, which are transfers, and which have errors that require correction before enrollment. Depending on your screen size and settings, you may have to scroll down to view the File Summary and Import Review Table.
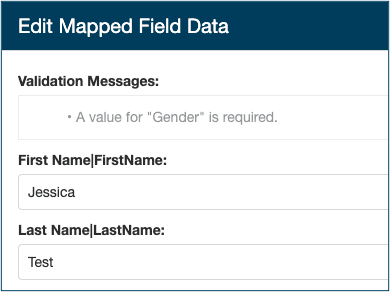
Step 4: Data Validation and Submission
If you filled out all the Batch Enroll Template data correctly, you should see “Validated Successfully” in the Status column for all records.
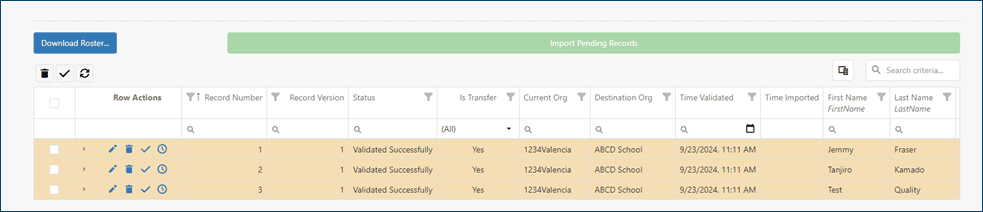
You must submit your records. Validation failures and how to fix them will be discussed further in the Troubleshooting section.


Troubleshooting Guide